How to graft an Instax Mini onto your vintage camera
Introduction
This is a slightly more technical companion to Ihagee Parvola x Instax Mini Restomod, for anyone who is interested in knowing exactly how it came together. It's short because it was not actually that complicated once I had the donor. I encourage anyone with an old 127 camera to give it a go for themselves. No specialist equipment or knowledge was necessary to build a fully working prototype.
Many thanks to Nik for gifting us the camera, and Noah for inspiring me to build it.
The Goal
Turn the Ihagee Parvola from a vintage shelf decoration into a functional camera that can be used without the need for specialist film or facilities, within a sub-£100 budget. The intended user is a BFA student with a strong photo manipulation practice, using both physical interventions with prints and negatives, and digital.
The Camera
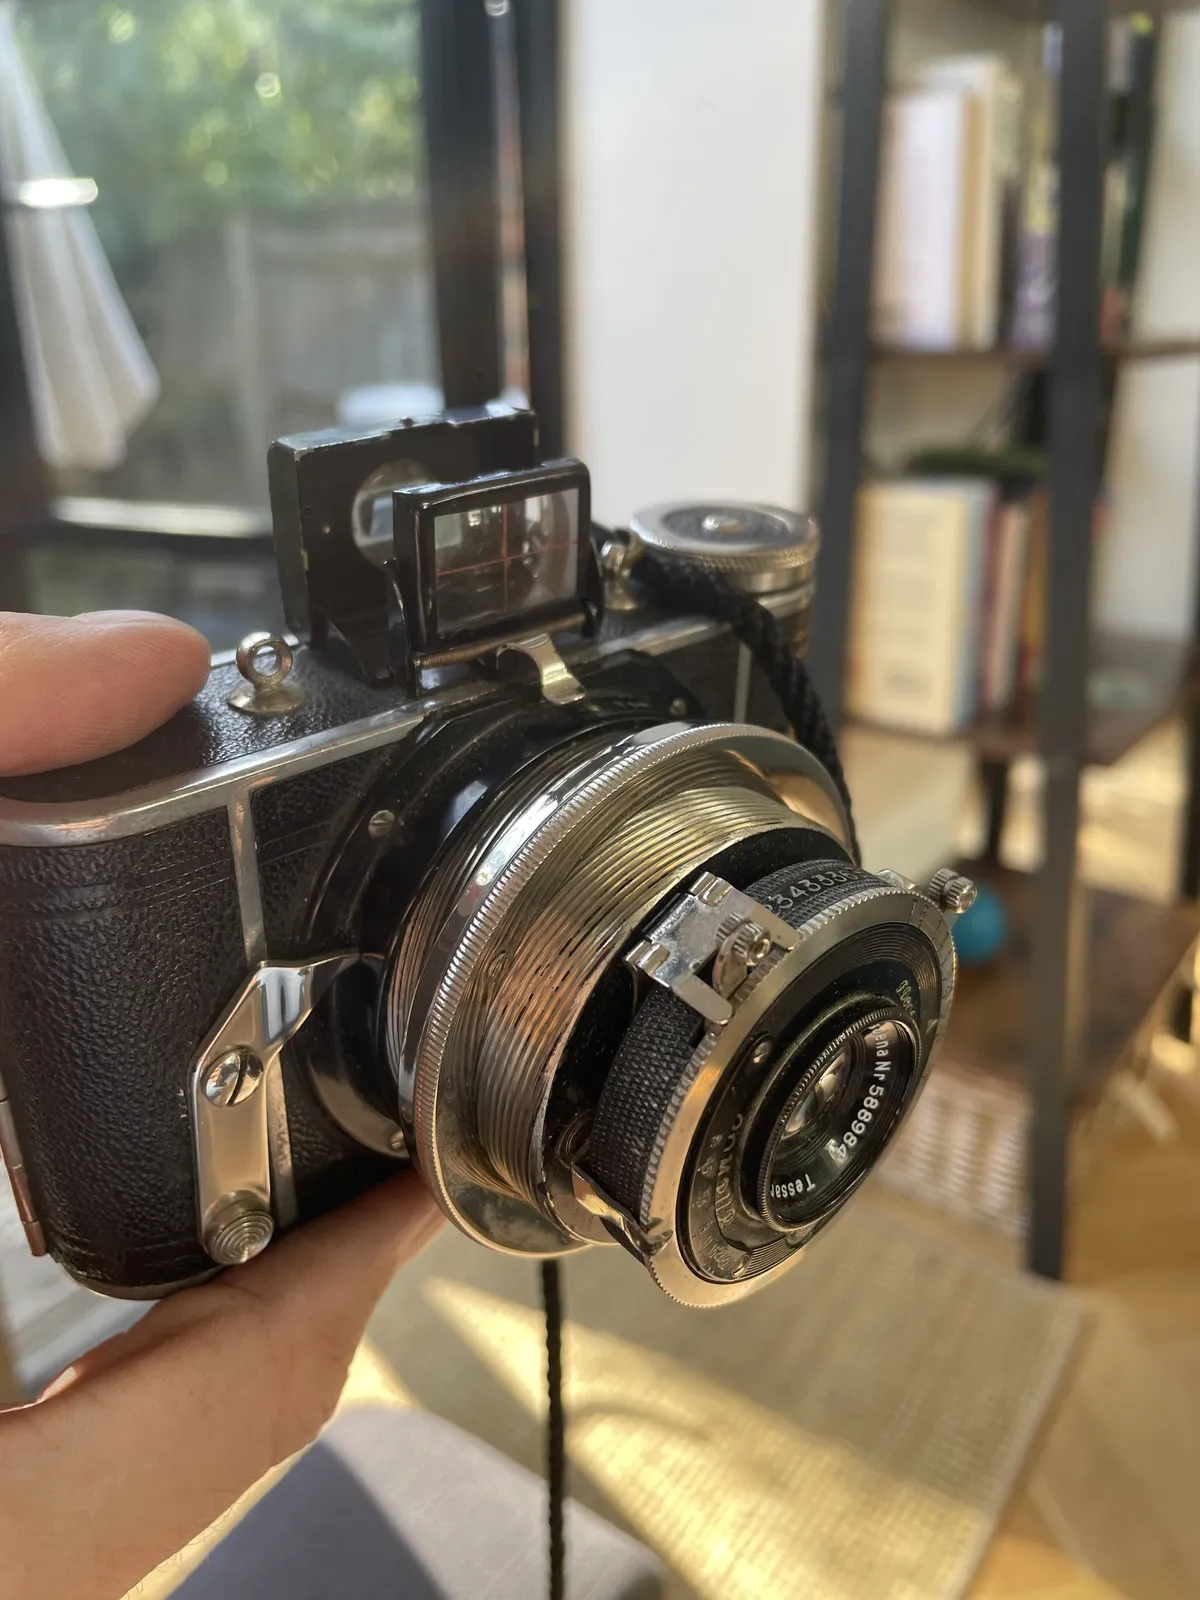
The Ihagee Parvola 1350 is a circa 1930's German "pocket" camera with a lovely double-concentric helical barrel extension mechanism. It has a fixed focus infinity lens and a unique macro focusing capability via the second helical extension, allowing for close up photos and portraits. The example I have is equipped with a Compur leaf shutter and Carl Zeiss Tessar lens with a unique 6.5cm focal length. This was not an original configuration, and it's unclear when the lens was installed. The Parvola uses 127 film, and the 1350 model has a 40x65mm film gate, approaching the size of a medium format camera.
Options
A digital back is likely feasible, but the multi thousand pound cost of a medium format digital sensor put an easy adaptation of an existing digital back out of reach.
Adding a ground glass focusing screen and building an adaptor for either a phone camera or a digital SLR was mooted and is a planned V2 project. The removal of the analogue process of shutter and aperture management and the lack of a physical product made this a second choice.
It is possible to shoot 35mm film in a 127 format camera by spooling the film onto an empty 127 spool. This would require a darkroom for spooling, loading, and unloading the camera. This is a likely experimentation direction when there is access to that environment.
127 film is also available from specialist suppliers, but require the darkroom again, and any developing and printing will require equipment beyond the typical 35mm setup. Once again, a direction to experiment when the facilities are available.
There is prior art on adapting Instax film to medium format cameras (Steve Lloyd's Yashica conversion for example), and the frame size of the Instax mini at 46X62mm is very close to the Parvola's 40x65mm. The quickest path to an analogue image should be building an Instax mini back for the Parvola.
The Donor
Instax cameras have a mechanism to hold the film cartridge against the film gate, eject the exposed film and apply the correct pressure to develop the image properly. Finding a donor that will fit the Parvola is the first challenge.
An article by someone planning to make a medium format Instax back identified the ideal donor - the Tomy KiiPix.
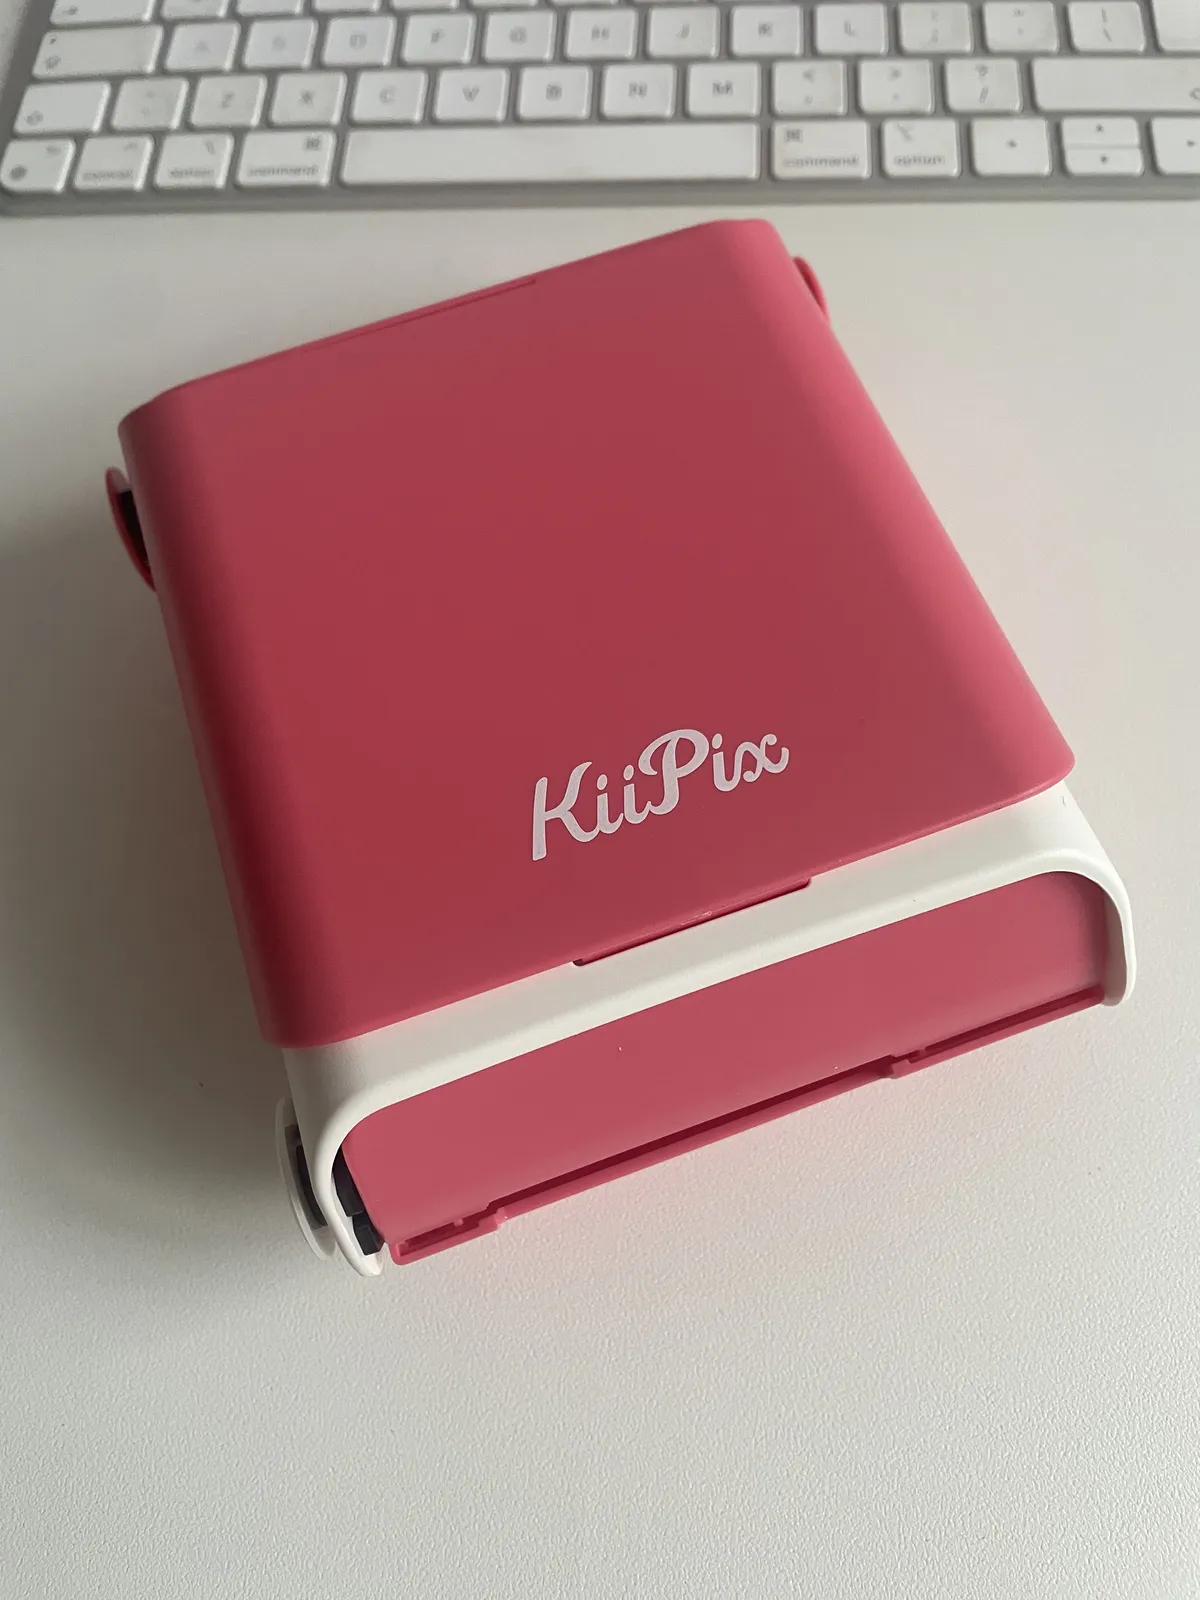
The KiiPix is entirely manual - the instax mechanism is driven by a hand turned knob. This removes an entire class of problems from the build, with no need to trigger a motor to eject the film or convert it to manual, like Steve Lloyd's Yashica. It is also very cheap, with a second-hand one costing me £12 shipped.
Stripping the KiiPix back to just the mechanism was very straightforward - a handful of screws held it together and the film handling mechanism remains a single unit after removing the rest of the device.
Film Plane Adjustment
The KiiPix mechanism doesn't mate perfectly to the back of the Parvola. There is some interference at the top and bottom edges of the camera body, and the film plane of the Instax mechanism is slightly recessed to the outer plane of the mechanism. This produces about 4mm of rearward offset from where the 127 film would sit and where the Instax film sits. Managing this offset is the second challenge.
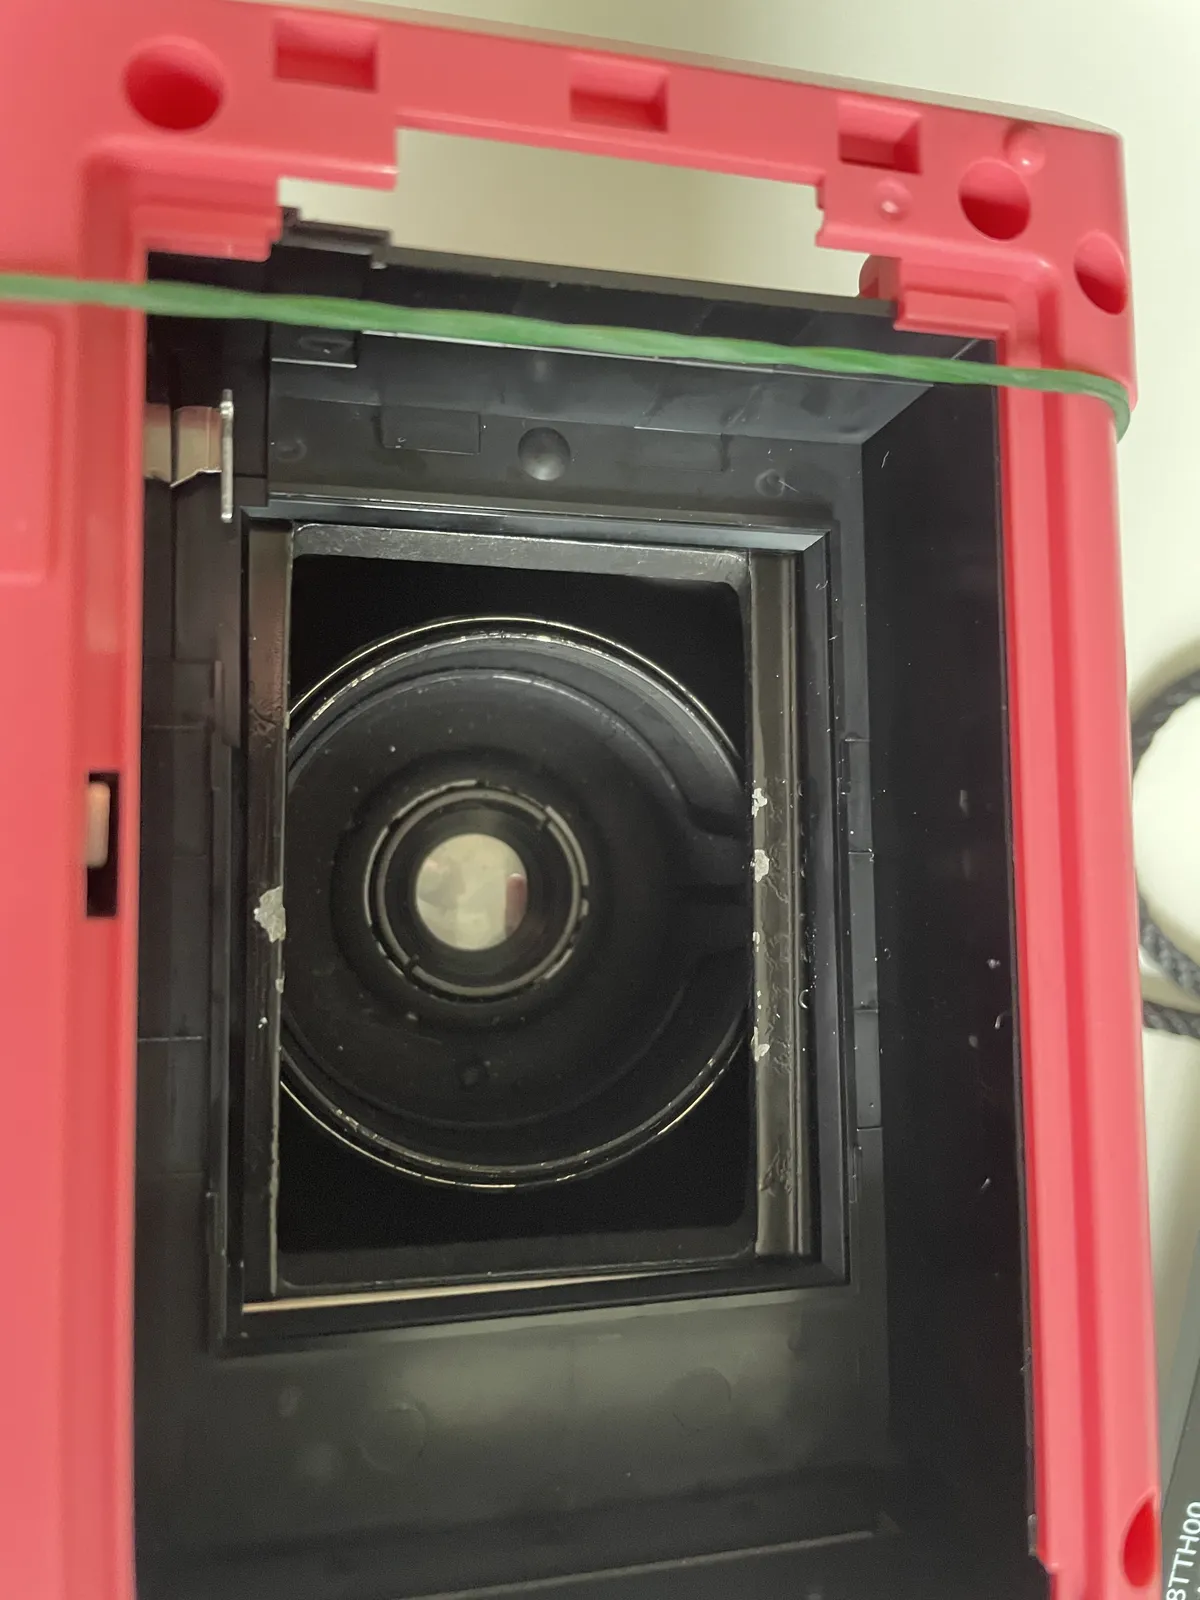
I naively thought that needing to push the film plane back 4mm on a fixed focus lens would be the problem that doomed this project. Luckily the Parvola's unique barrel extension mechanism made this a non-issue.
The lens of the Parvola can be calibrated and minor focus adjustments made by loosening it from the barrel and using a focusing screen with an open shutter to push it back into the barrel so that the image is now focused on the Instax film. But that's not necessary as the barrel extension can do the same thing, acting as a focusing ring.
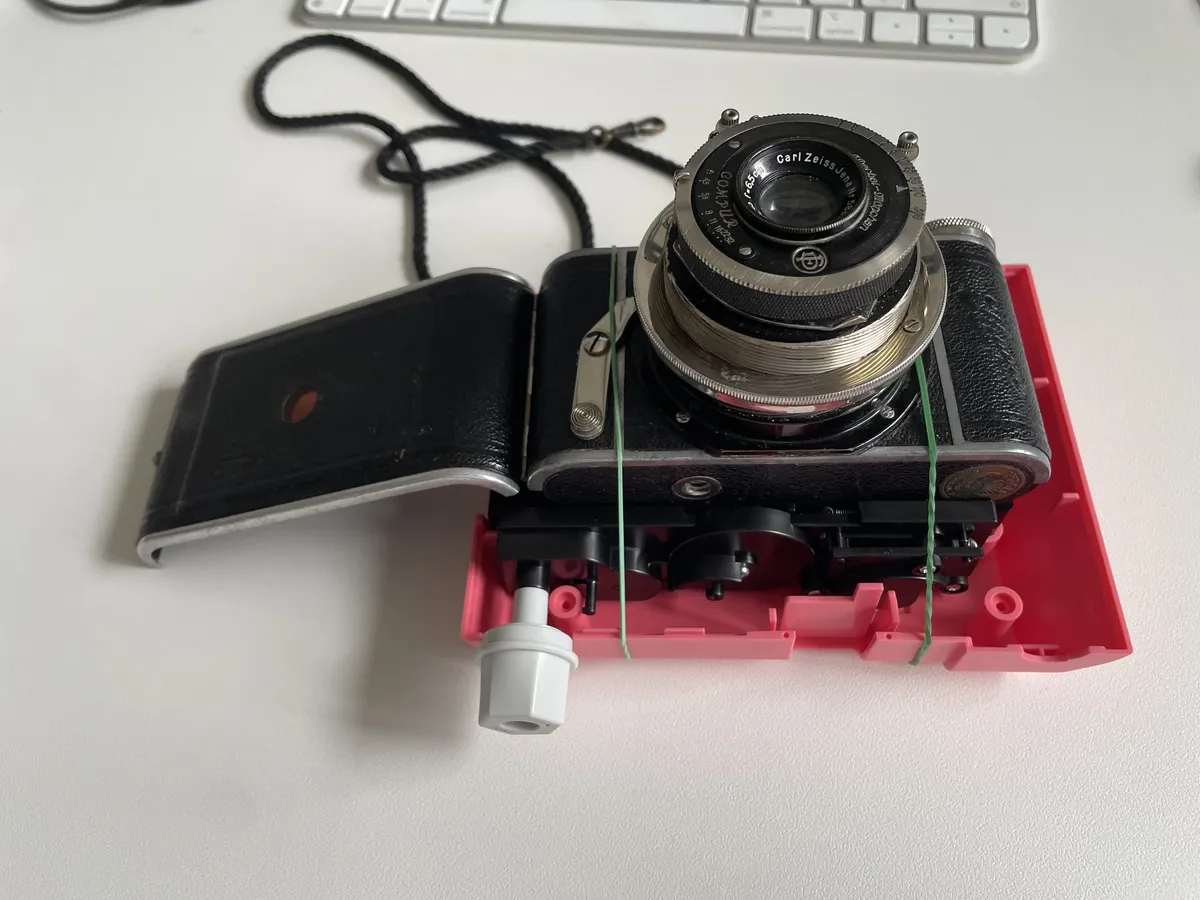
I taped a piece of tracing paper to the bare KiiPix mechanism, used some elastic hair bands to attach it to the Parvola and was able to get a reasonably sharp focus by adjusting the barrel extension.
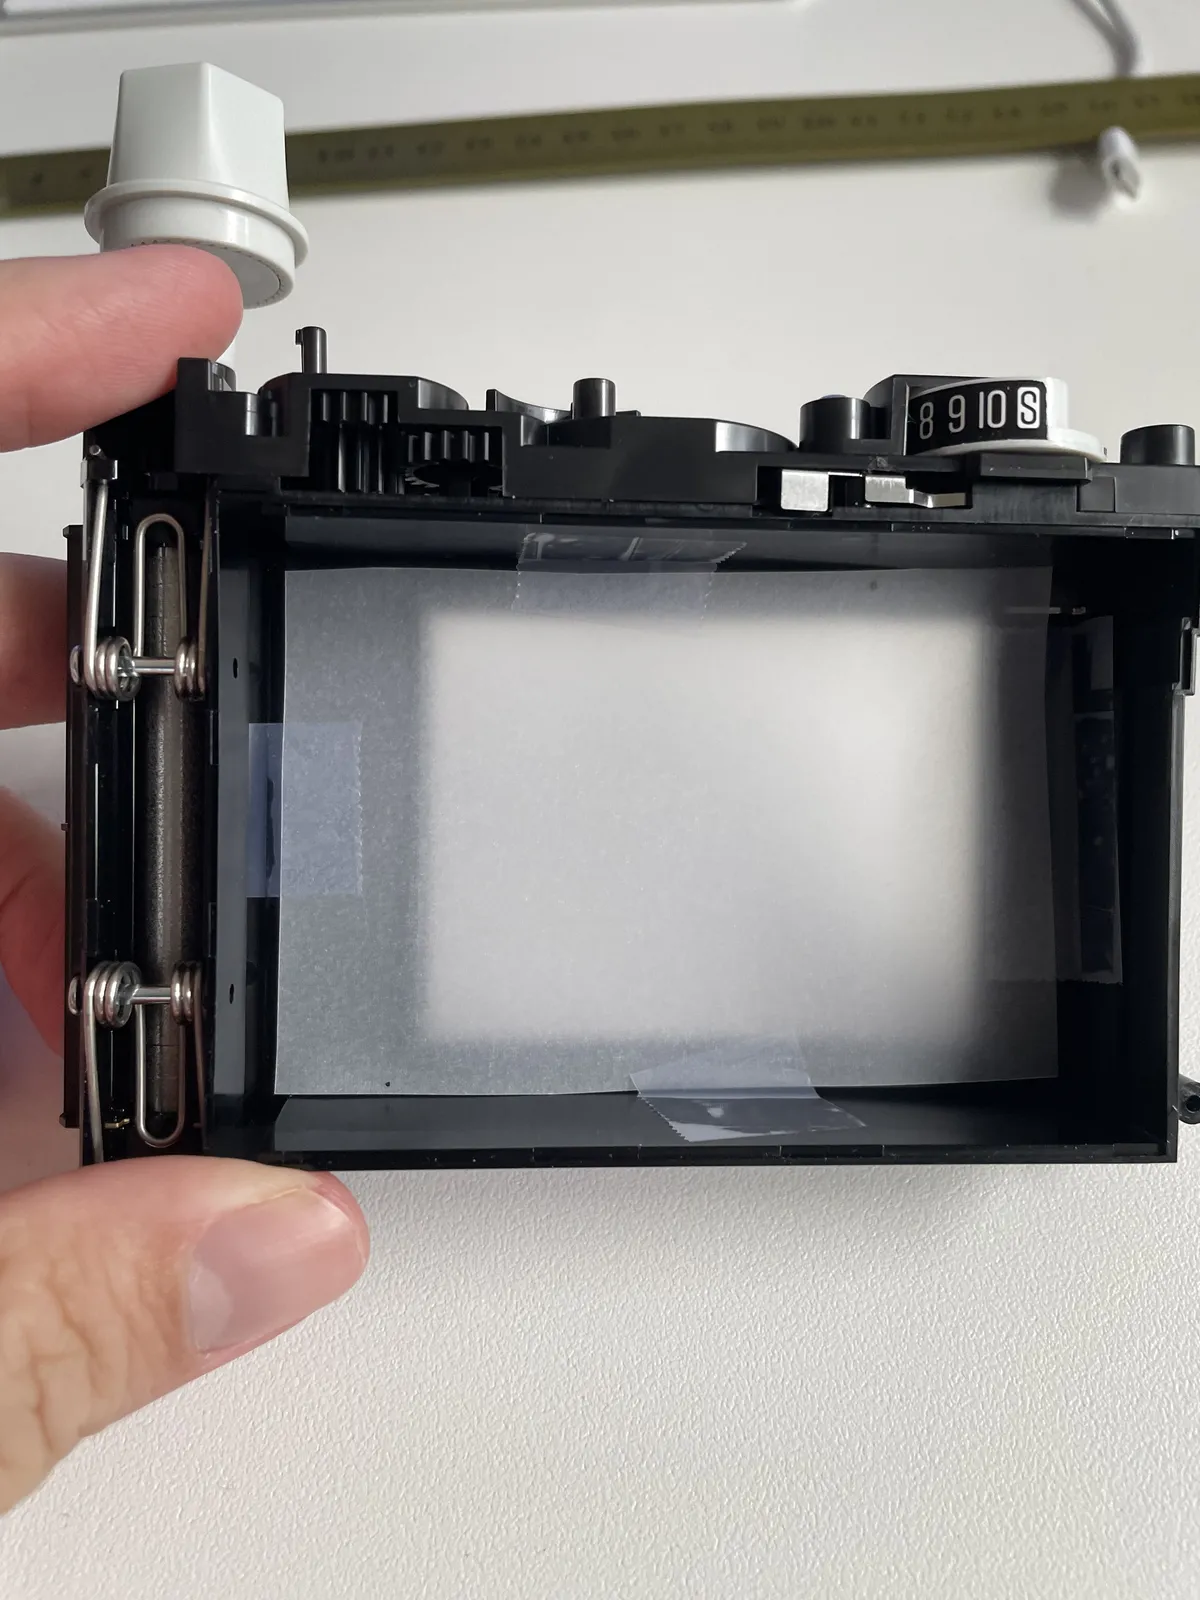
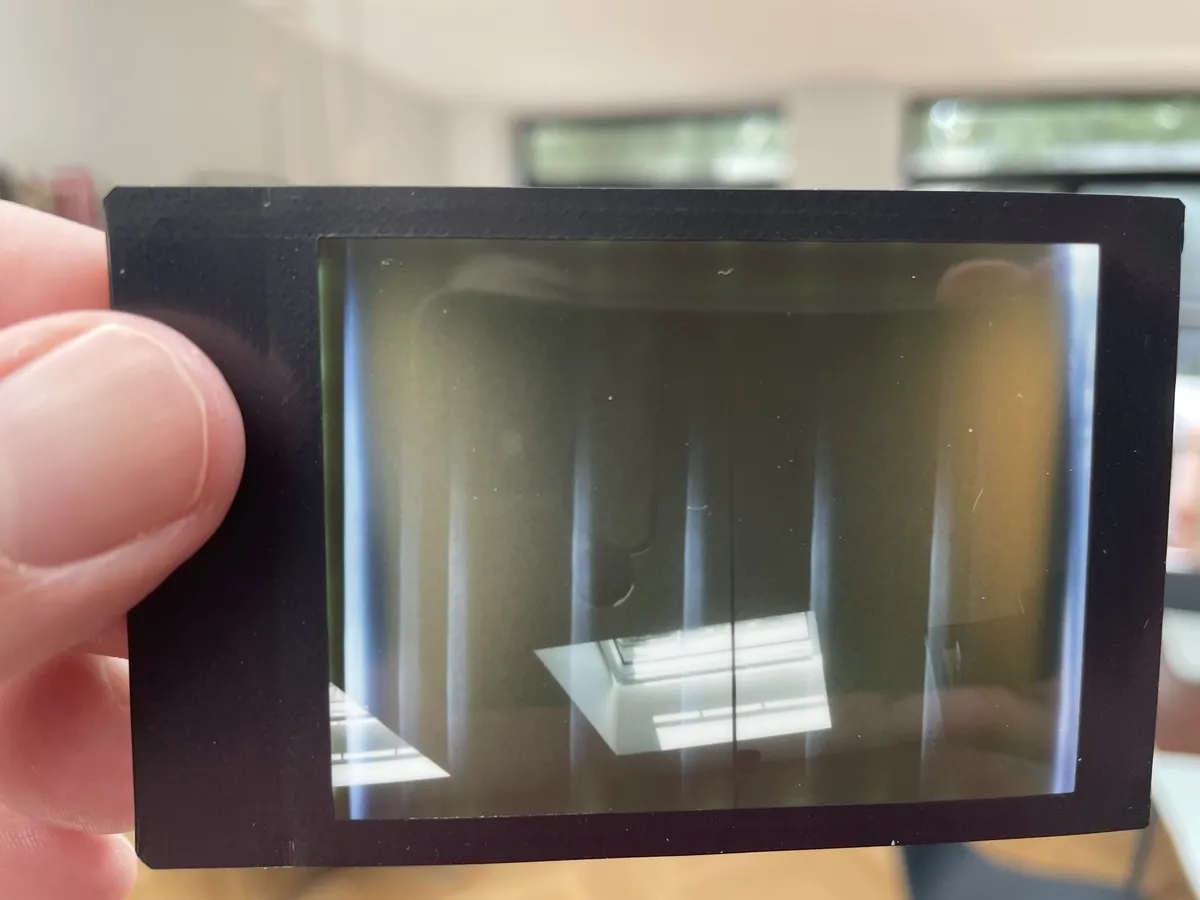
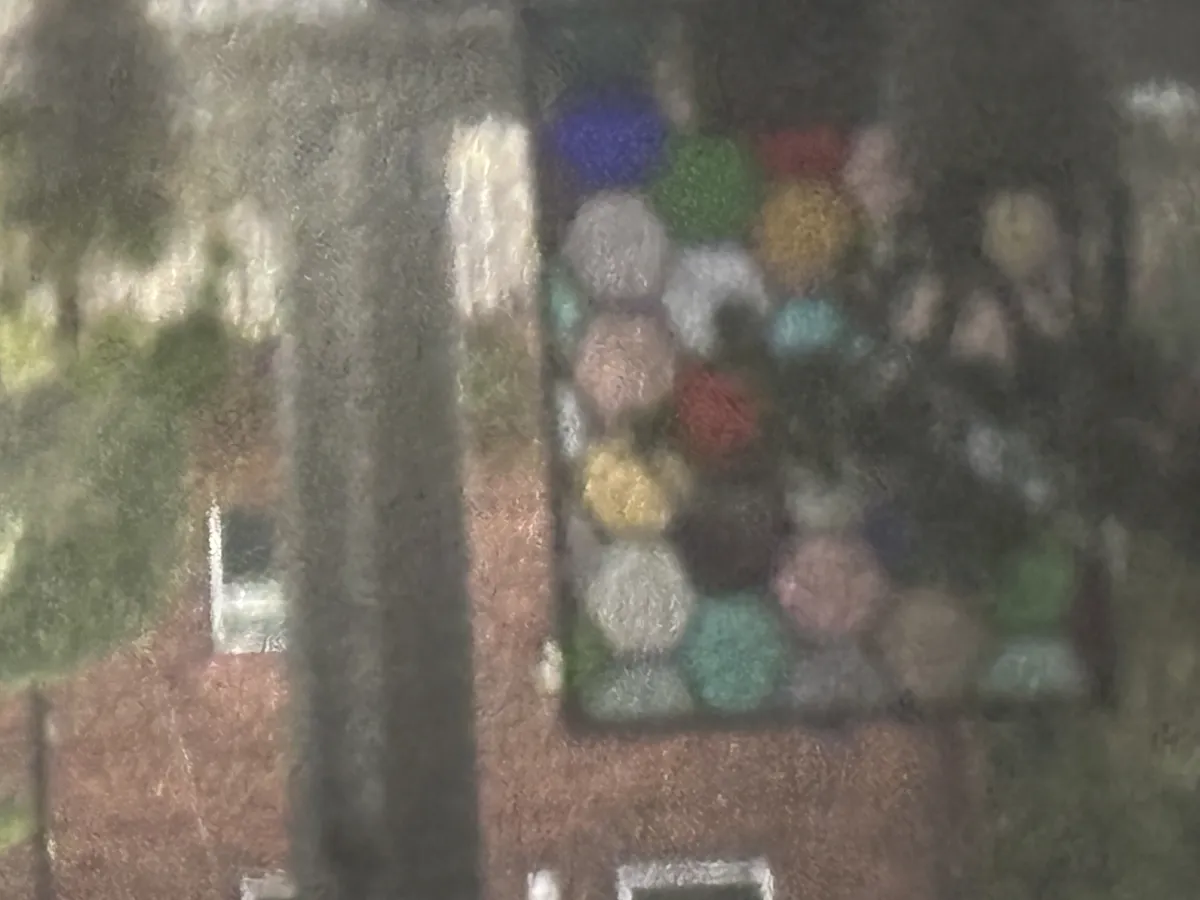 Seeing the image through the lens for the first time
A happy side effect of this movement of the film plane is the image from the lens now fills the entirety of the Instax film, giving an edge-to-edge image instead of being masked by the Parvola's film gate.
Assembly
The mechanism was made mostly lightproof with some compressible foam tape, and the whole back of the KiiPix was strapped onto the Parvola with hairbands and elastics for the first test. It could use some better elastics, but this worked way better than you'd expect.
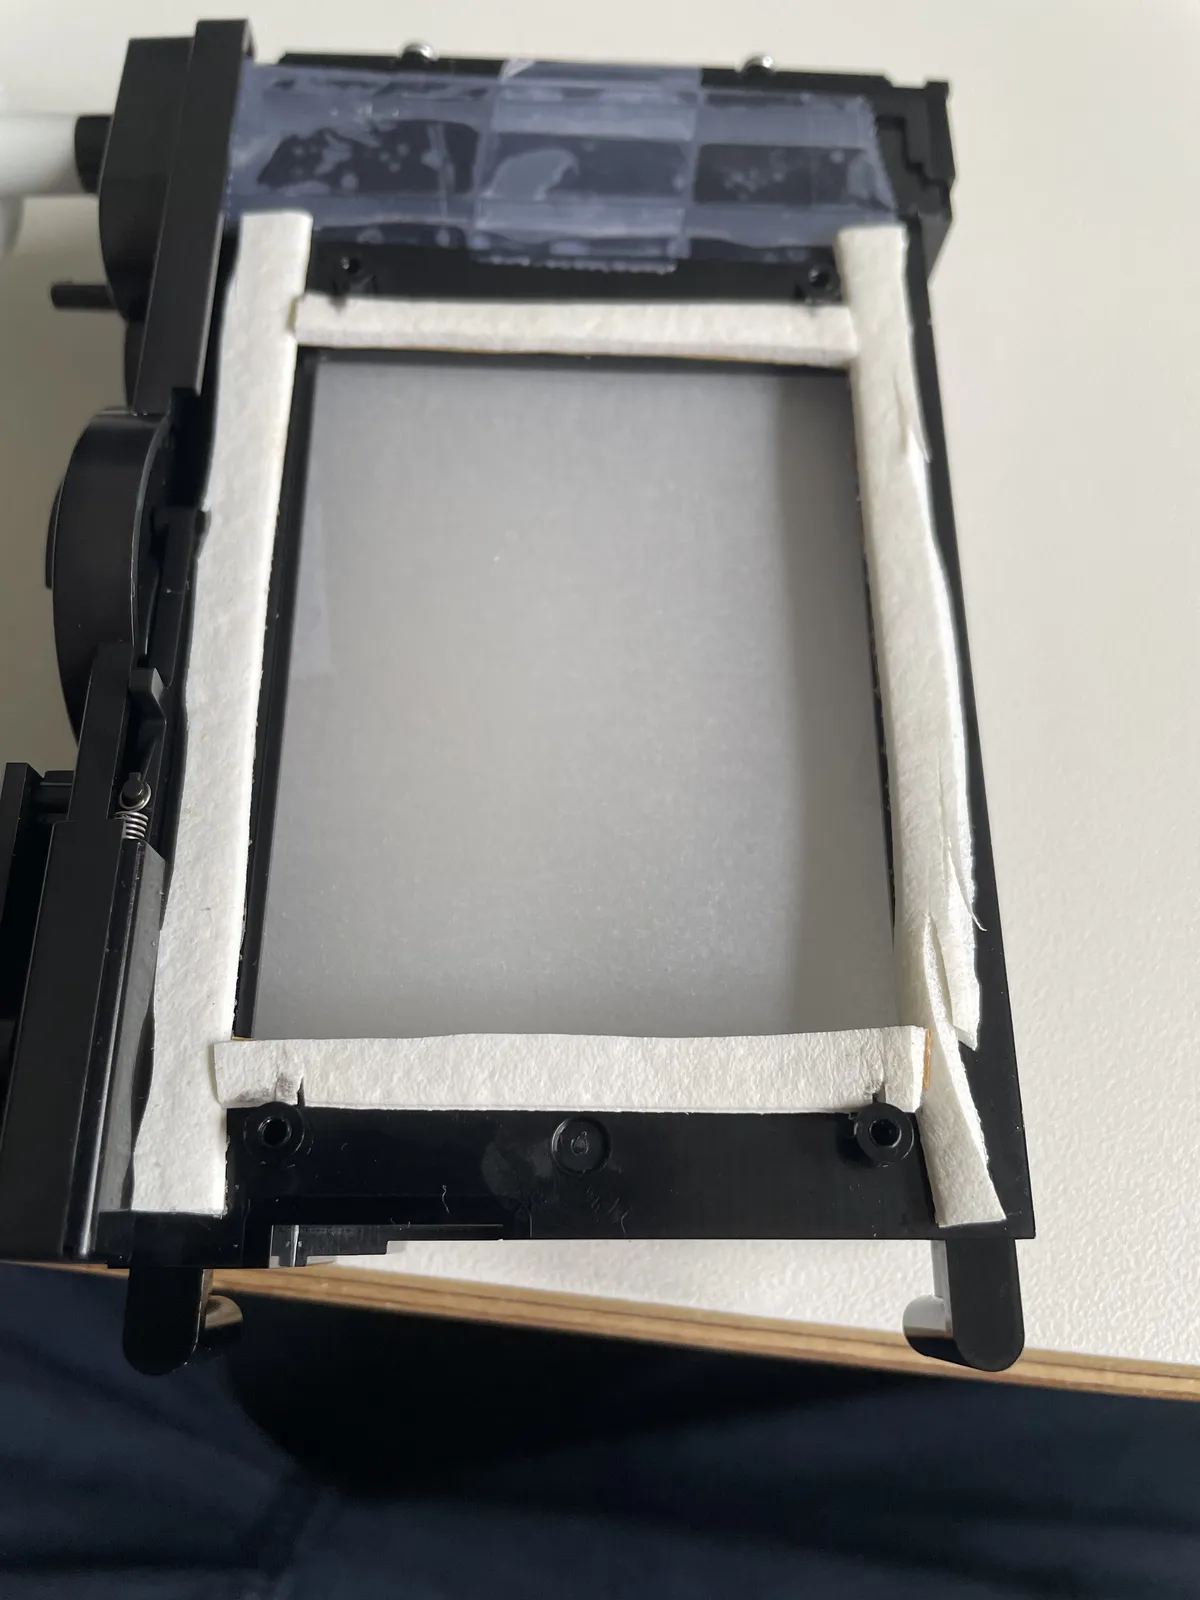
Shutter and Aperture Settings
The ISO of Instax appears to be equivalent to 800. The Compur shutter has a 1/300th setting as it's fastest speed, but that is probably optimistic for a century-old clockwork device. The shutter is fully open at f4.5. and is marked to f32. With the shutter at max speed and tightest aperture, it's just within range of the film speed, with headroom for indoor and lower light shots.
First Photos
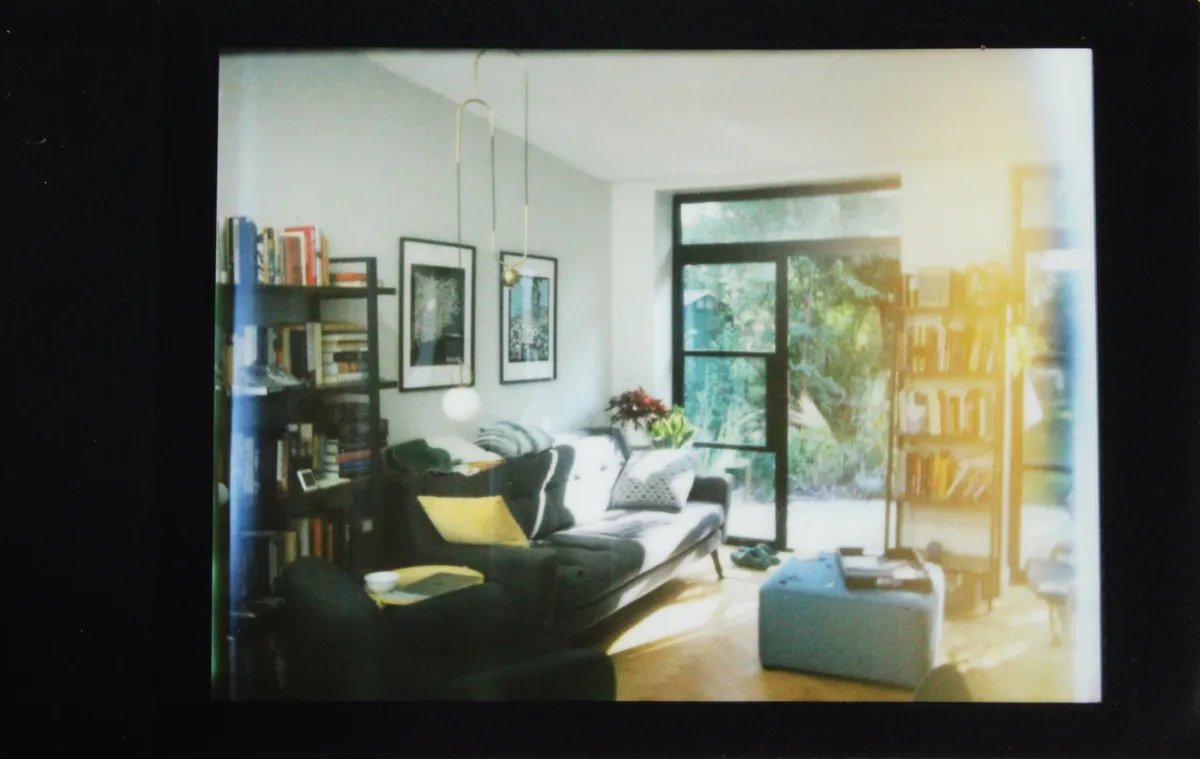
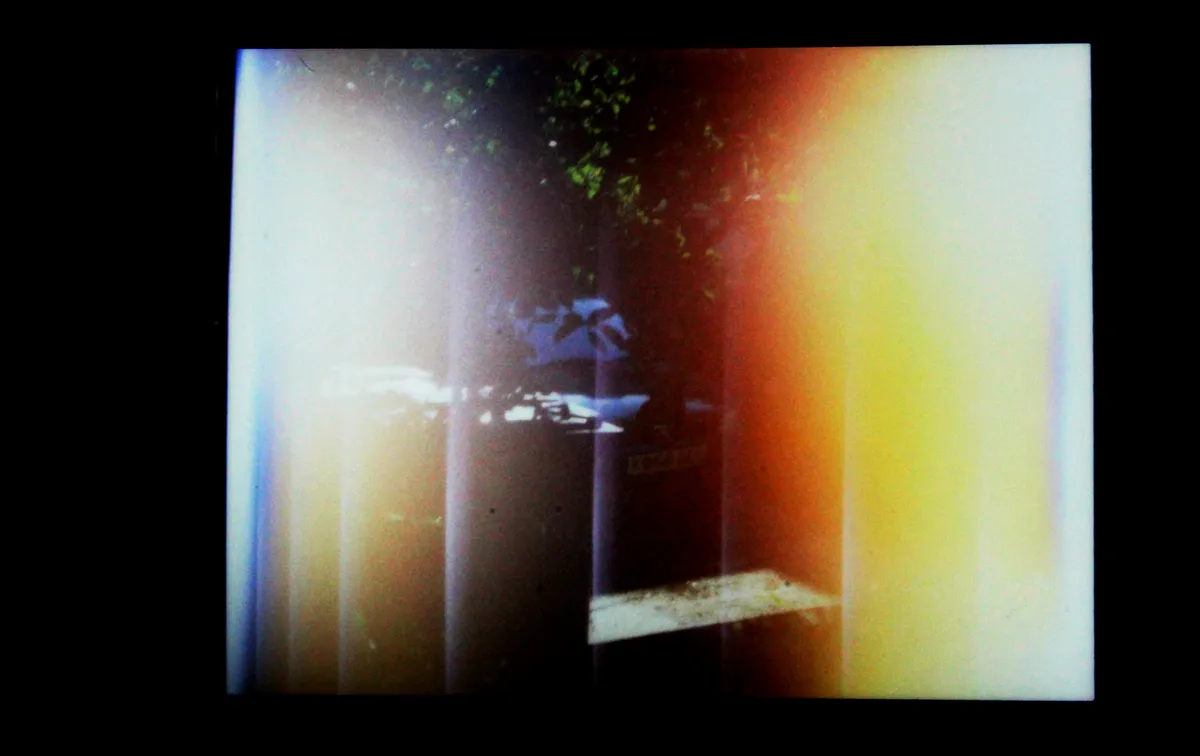
There will need to be some experimentation on shutter and aperture settings, but the results from the first cartridge proved out the concept. Better light-proofing is needed, and the elastic band attachment method certainly needs to be replaced with something less prone to misalignment. All tasks for Mark II.
These ones were processed digitally after being captured from the Instax film with a 35mm DSLR, and show the character which the combination of camera and film imparts.